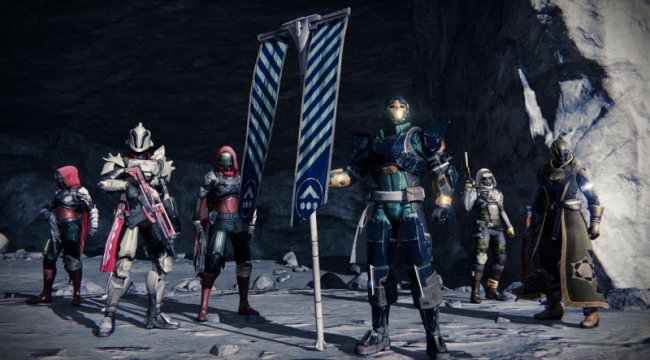
Right now, Destiny players are frantically trying to gear up with all of the new Queen’s Wrath equipment. On October 7 though, that will come to an end, making room for the official introduction of the Iron Banner, a one-week Crucible event that will let Guardians compete in PvP using all of the abilities and stats of their gear.
In Iron Banner matches, your gear is incredibly important, and a player decked out in legendaries and exotics is going to ruin your day if you’re walking in there with blues and greens.
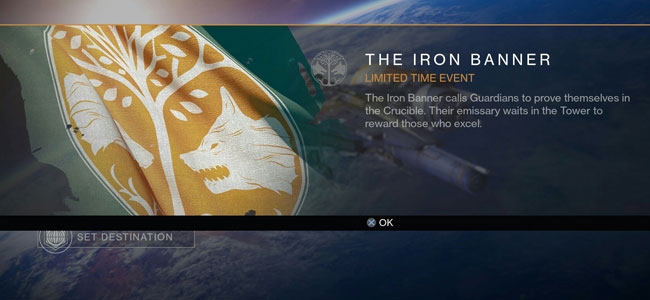
If you want to be involved in this limited time event (and grab some of the event-exclusive gear), here are 9 ways to get your Guardian in Iron Banner shape.
A quick note! This guide assumes you are level 20+, and have maxed out at least one subclass (preferably the one you like using in PvP). If you aren’t in this boat, the Iron Banner is unfortunately not for you this time around. Don’t worry though, I’m sure it will be back!
1. Use the Queen’s Wrath event to gear up!
If you’re heading into the Iron Banner with any rares or uncommons in your loadout, you’re going to have a bad day. Luckily, the Queen’s Wrath event has made it painfully easy to obtain a few legendary items, specially, your helmet and chest armor.
Additionally, if you get very lucky with your Queen’s Kill Order drops, you might even score a legendary sniper rifle, which can fill your secondary weapon slot if you need it to.
2. Use the Vanguard and Crucible vendors to finish your loadout!
Now that you have at least a helmet and chest armor, it’s time to find gauntlets, leg armor, and weapons. The most reliable way to do this is to spend Vanguard and Crucible marks with the various vendors.
As a quick refresher, buying Vanguard and Crucible equipment requires you to have a certain reputation level. You need to be Vanguard/Crucible rep level 2 to purchase armor, and level 3 to purchase weapons. If you’re not quite there yet, finishing bounties is the quickest way to get there.
Use these vendors to pick up the remaining pieces of equipment you need. If you’ve been playing the end-game for a little while now, you likely already have enough Crucible or Vanguard marks to buy one or two items. Helmets are usually the most expensive armor purchase, luckily the Queen of the Reef already provided you with one!
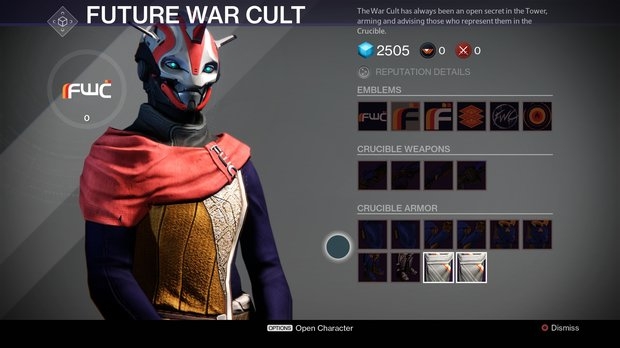
3. Use faction vendors to unlock items faster!
If you’ve been a smart guardian, you’re probably already leveling up one of the factions (New Monarchy, Future War Cult, Dead Orbit).
Unlocking items with faction reputation levels is great because both Vanguard and Crucible activities can count towards it, effectively doubling how quickly you get to level 3. Even better, faction vendors’ inventories never change, so you know exactly what you can purchase beforehand.
If you’re still a ways away from the level you need, and clearing bounties every day won’t get you there fast enough, remember that Patrol missions give you Vanguard reputation (which can translate into faction reputation if you’re wearing the item). This isn’t the quickest way to do things, but if you’re in a pinch, it’s repeatable.
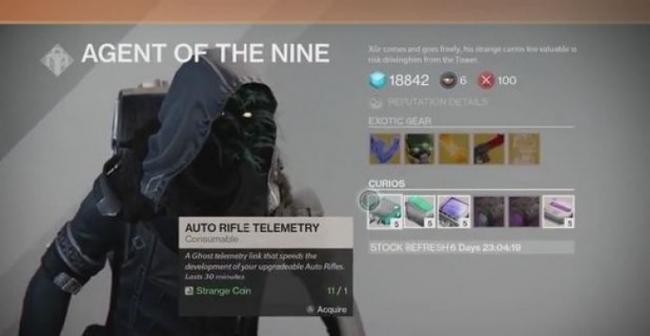
4. Find Xur this weekend to make sure you have exotics!
Xur is a vendor that appears on Friday and Saturday each week. He sells Exotic items for Strange Coins and Motes of Light. Since he is the only vendor that accepts Strange Coins, don’t be stingy and use this opportunity to make sure you have one Exotic weapon, and one piece of Exotic armor.
Exotic Auto Rifles should be a priority (more on this later) if you don’t have an Exotic weapon yet. Otherwise, plan on visiting Xur to fill out the one or two equipment slots that you don’t have a Legendary for.
Don’t forget that you can only equip one Exotic weapon and one Exotic armor piece at the same time though; so it doesn’t make sense to buy an Exotic primary and an Exotic rocket launcher for example.
If you run out of coins, Xur also sells Exotic Engrams for Motes of Light. Be warned though, the item that decrypts might not be for your class!
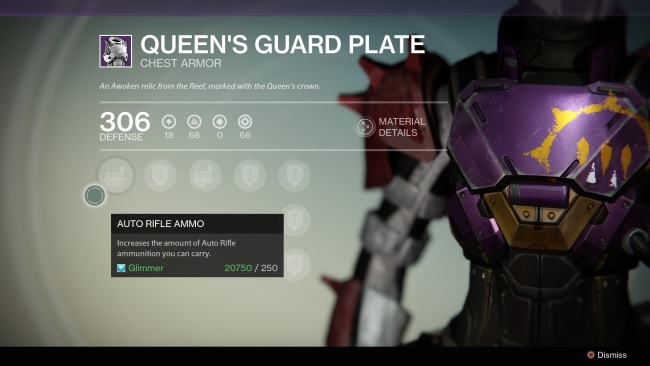
5. Pick items that fit your playstyle!
Making sure you aren’t carrying any blue or green items is your priority, but it should go without saying that if you have an option, make sure you pick the one that fits your PvP playing style the best.
Do you like grenades? Some armors let you carry two! Do you rely on your shotgun or fusion rifle? Consider finding equipment that lets you carry more ammo. Large clip size? High rate of fire? Explosive rounds? Melee bonuses? There are a lot of options out there, look at the entire upgrade path of an item before buying it, and make sure it fits what you’re best at.
6. Level everything up!
Between the Queen’s Wrath, Tower vendors, faction vendors, and Xur, you should have no problem getting all of your equipment slots filled with purple and yellow.
Obtaining the items is just the beginning though, to make them effective pieces of your arsenal, you have to level them up. The difference between a weapon or armor piece you just acquired and one that you maxed out is huge.
That’s why it’s important to get the final pieces of legendary gear you need as soon as possible, you’ll want to spend the next five days leveling everything up. You might be tempted to wait and see if you can get random drops or Engrams to get those last pieces of Legendary gear, but doing so will mean you have less time to upgrade once you find them.
On that same note, don’t have fourteen different loadout options. Your goal here is to pick one item for each slot, and max them out; don’t split your attention between all of the weapons you like.
The quickest way to level up gear is completing bounties. Whatever you have equipped when you turn one in will get a hefty XP boost, even if you didn’t use it to complete the bounty.
What will likely slow you down are the world-specific crafting materials (Spinmetal, Relic Iron, etc.) and Ascendant Energy/Shards. The former is very easy to obtain. Simply run a Google search for a farming run of whatever you need (ie: Relic Item farming run). You’ll find plenty of videos showing the most efficient ways to gather that material.
The Ascendant materials are much trickier. These are the known ways of finding them: completing Public Events with a Gold Rating, Legendary Engrams, Loot Chests, and random drops for the daily and weekly story missions and strikes, Vault of Glass, and Crucible matches.
If you’re really desperate, dismantling Legendary or Exotic items can also give you these (energy from weapons, shards from armor). Sadly, the Queen’s Wrath legendaries will not though.
Finding enough Ascendant material to fully upgrade your gear is going to be tricky, so hopefully you have some saved up already.
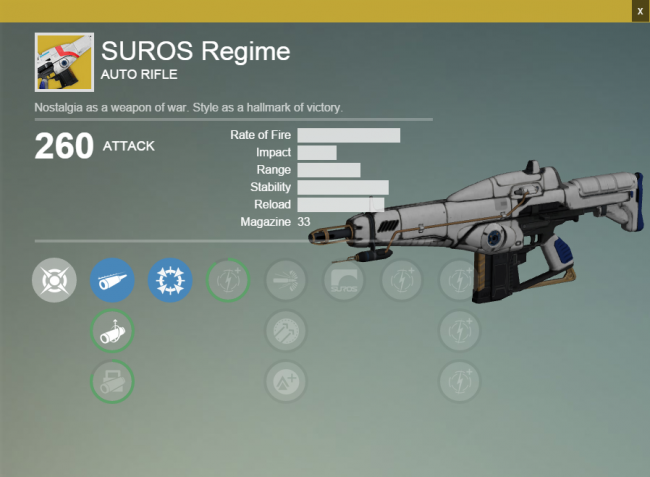
7. Find an Auto Rifle you’re comfortable with (or practice a lot with another weapon)!
The Iron Banner is all about finding every little advantage that you can, so if you’re really looking to top the competition, I highly recommend you do so with an Auto Rifle.
Bungie itself has admitted that the Auto Rifle is way overpowered compared to the other primary variants at the moment. While Scout Rifles, Pulse Rifles, and Hand Cannons all deal tons of damage per shot, it shouldn’t be surprising that it’s way harder to hit a moving Guardian than it is to wreck some Dreg’s day from halfway across the map.
All things considered, Auto Rifles deal damage a lot faster, are effective at practically any range, and should be your go-to primary.
There’s a chance some patching will happen to negate this before the Iron Banner, but why gamble on that possibility? Find an Auto Rifle you like now, level that sucker up, practice until you’re a surgeon with it, and dominate the competition next week.
If you’re really attached to another gun type, or you simply can’t find a good Auto Rifle in time, I recommend practicing a lot with your weapon of choice. Find one you’re comfortable with, and play Crucible matches (not PvE) until you know it like the back of your hand. You’re already at a disadvantage by not using an Auto Rifle, so make sure you can compensate for that with a high skill level.
8. Fine tune your class build!
Once you have all of the items you need, spend some time tweaking the skill loadout you’ll be going into the Iron Banner with.
Not only should you choose the subclass that matches your PvP style the best, but you’re going to want to take the time to really examine what skills you’ve chosen, and how they work together.
Some options are geared more towards PvE, so make sure you’re only bringing in skills that will benefit you in the Crucible. Understanding how your movement, melee, and super charged abilities work will let you better evaluate situations, and know when you have the advantage.
There’s no cost to toggling skills on and off, so experiment as much as you can to really refine your build!
9. Know the other classes!
It’s not enough to just know your own class though, you need to be able to compare yourself to your opponent and make snap decisions regarding what range you want to engage them at, and what problems they might throw at you.
Recognizing your opponent’s subclass can be tricky, but it’s very easy to see the difference between a Hunter, Warlock, and Titan. Knowing what this means in terms of their stats and skills will give you a big advantage.
For example, engaging a Titan at close range is risky as they have the option of focusing their abilities on armor, and the Striker’s Storm Fist can one-shot just about anyone if they’ve taken a little damage first.
Being able to make these calls moment-to-moment will give you a big head start in any encounter. If you’ve only played one character class so far, it’ll be worth your time to check out the skill trees of the other four or five options you haven’t seen.