How To Use The New Post Editor
Hello and welcome to the Overmental community! If you’re joining us from the old 8CN team, we’re glad you made the move with us! This guide will show you how to publish articles on the new site.
If you’re brand new to our community (welcome!), this guide is still for you, but you can skip step 1, as this covers logging into the site with your old 8CN account.
1. Logging into the new site.
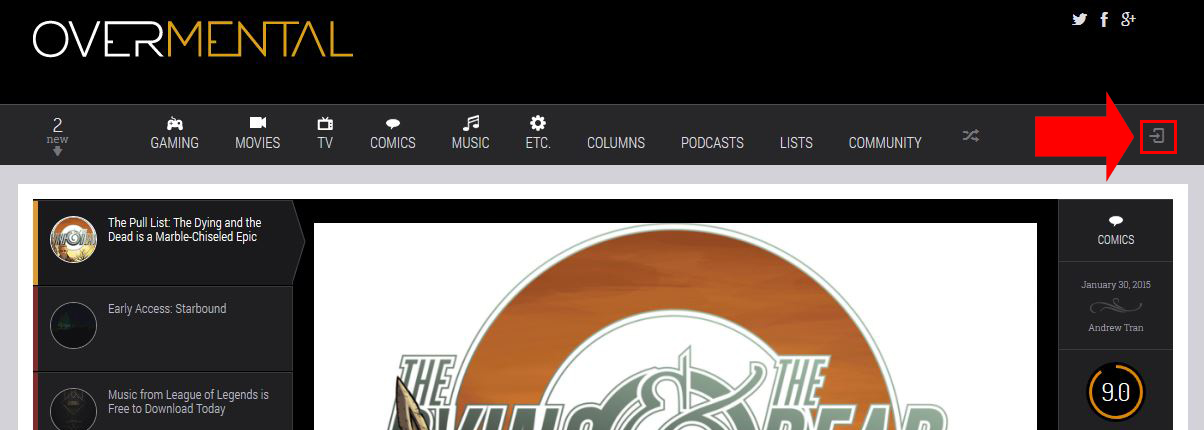
Open the login widget by clicking on this button.
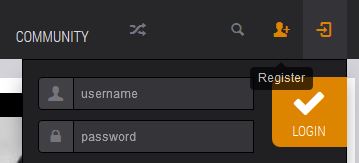
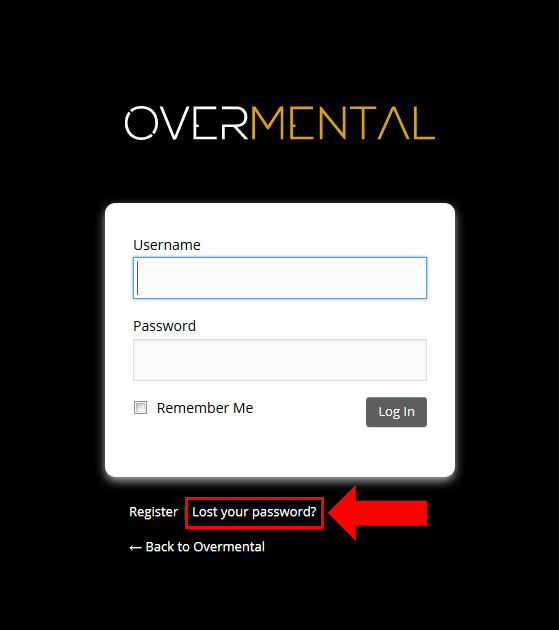
This little window will open. Since you do not have a password yet, go ahead and type nothing in, and click the big LOGIN button.
This will take you to this page, where you can click on the option to recover your password. Type in your email address
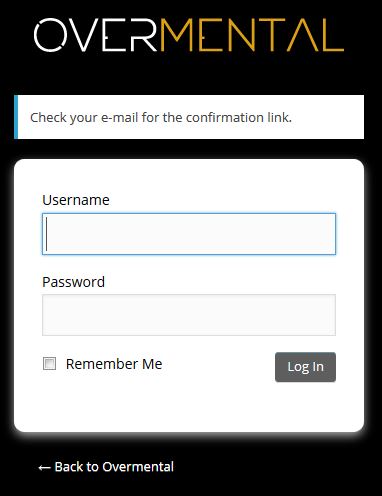
Once you’ve reset your password, you’ll be able to log in and begin publishing writing.
2. Creating a post.
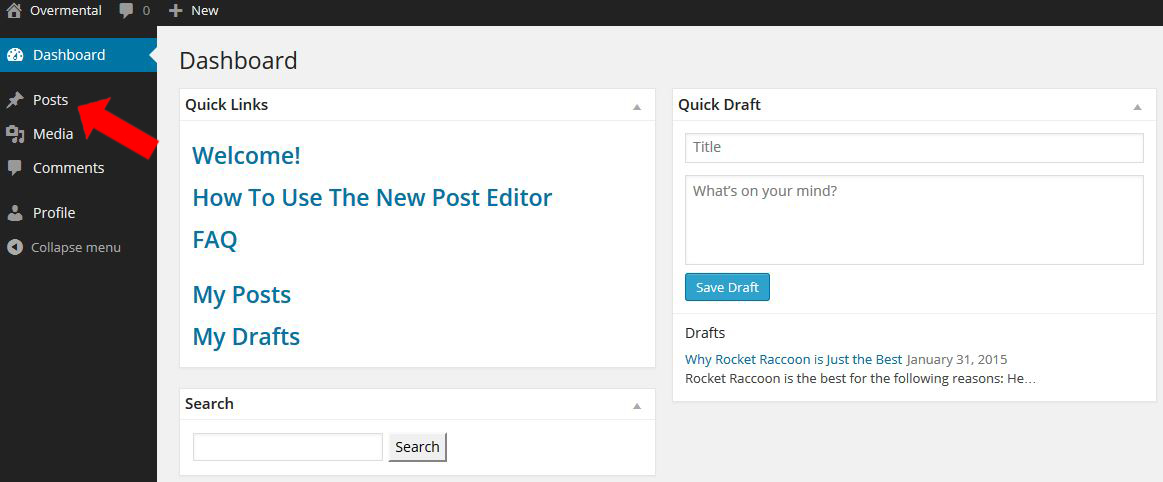
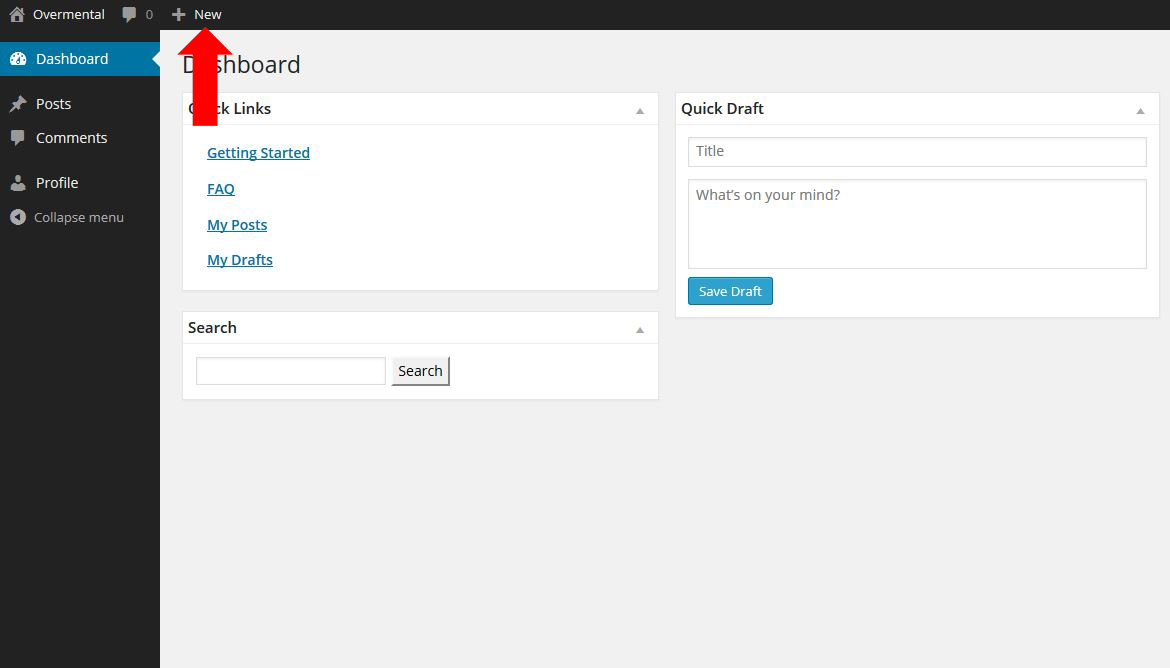
Once you’ve logged in, you’ll see a screen that looks like this. To begin creating a post, click the “+ New” button in the upper left-hand corner.
This button will also be available on any other page of the site.

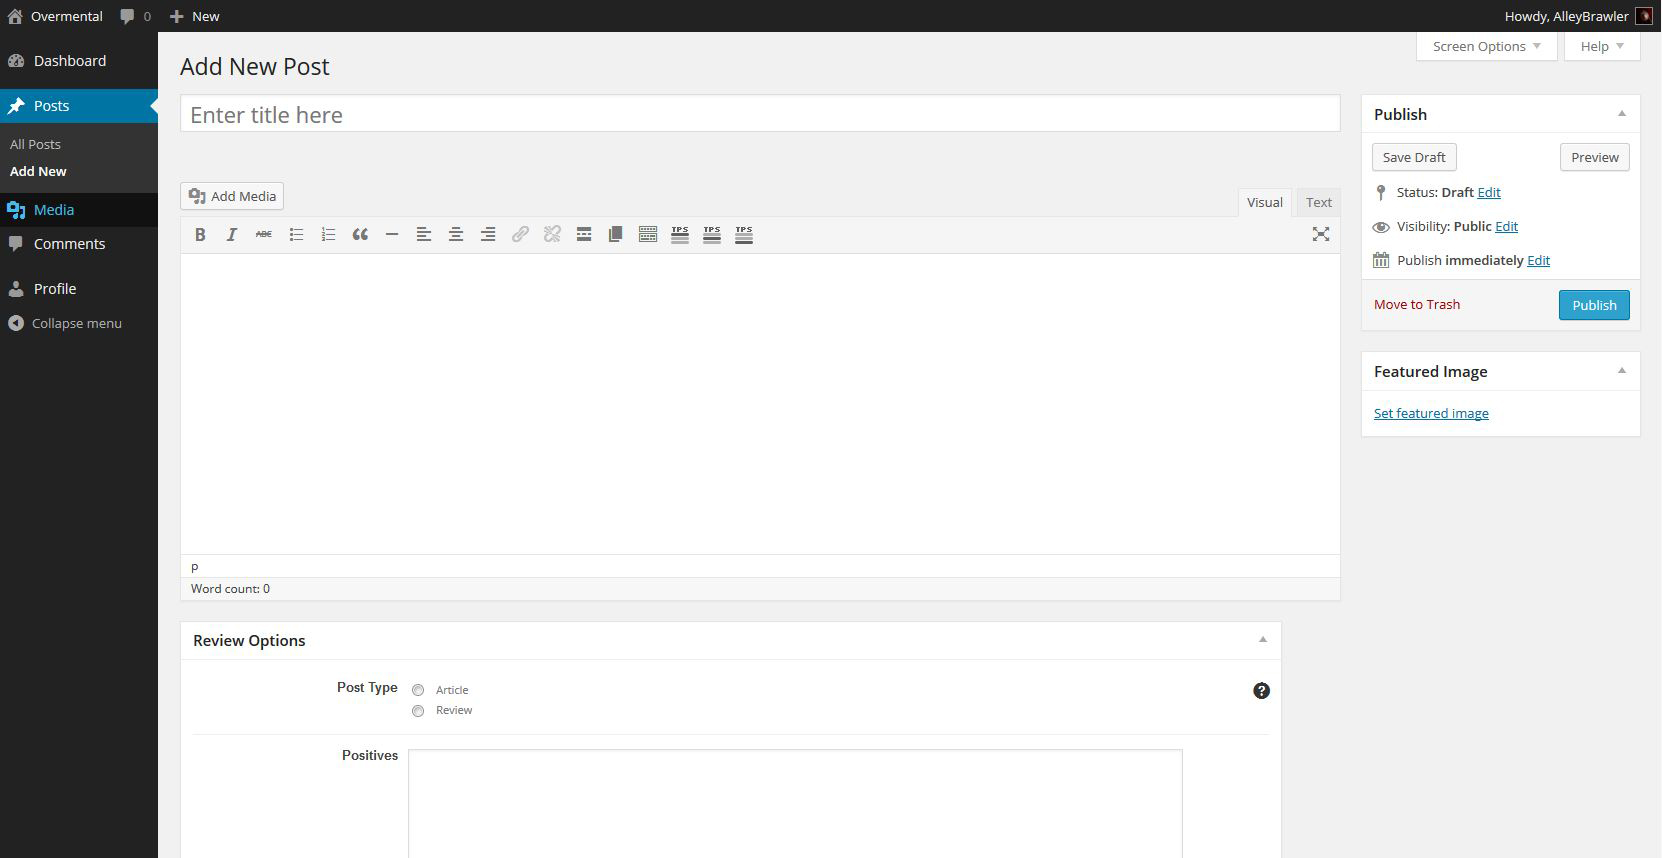
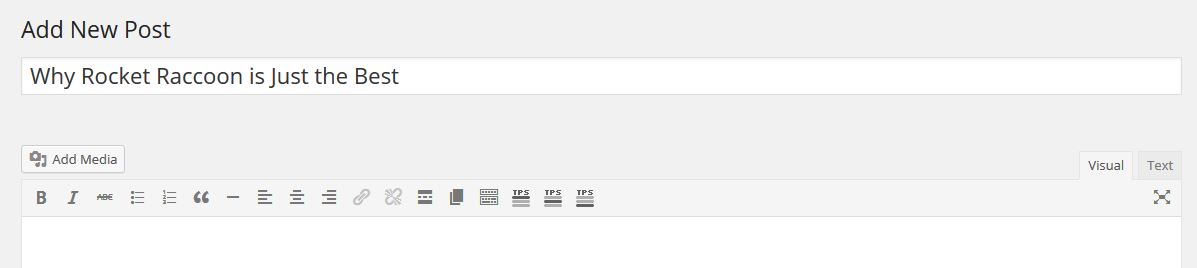
After hitting that button, you’ll be taken to the new post editor. It looks like this:
If you’ve used a Wordpress post editor before, this should be pretty straight forward, but if not, let me walk you through the process.
3. Title and text.
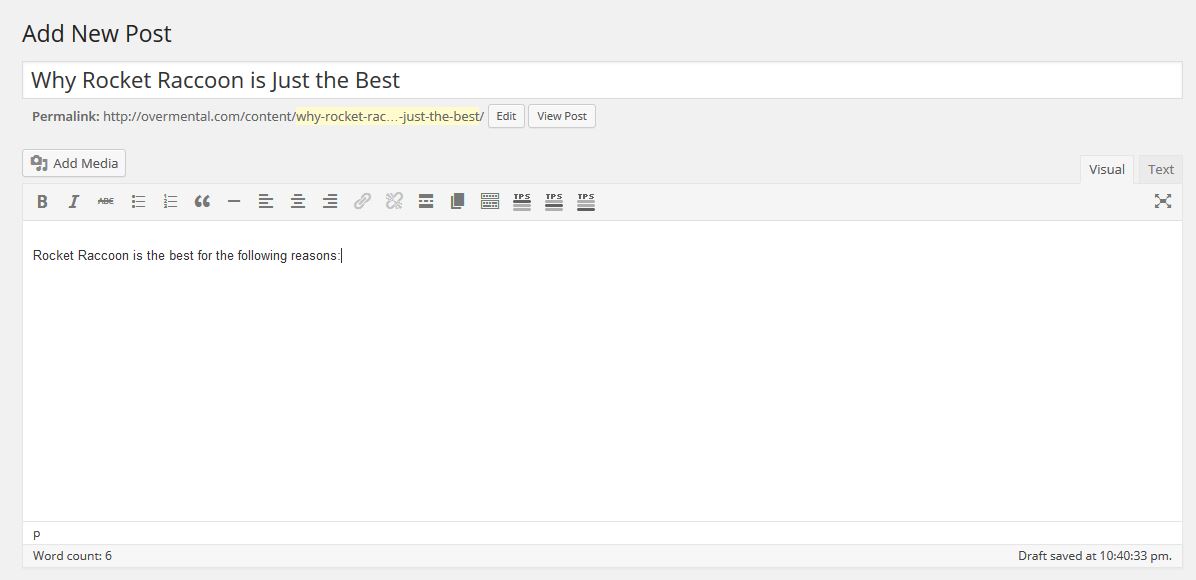
First you’re going to want to insert a title. There’s no difference here between this and the old 8CN post editor.
Under that is the post body, where you can either type out your post, or copy and paste it from a text editor. Unlike the 8CN post editors, this one will autosave your draft every 2 minutes.
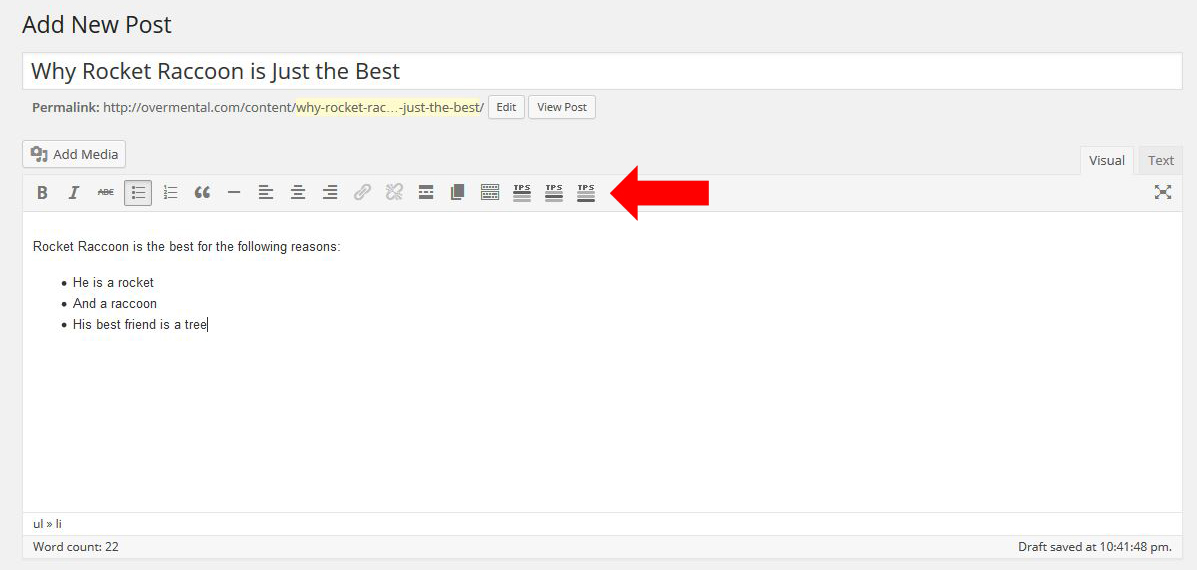
To add text effects, such as bolds, italics, blockquotes, or bullet points, use the control bar directly above the post body.
4. Adding pictures to your article.
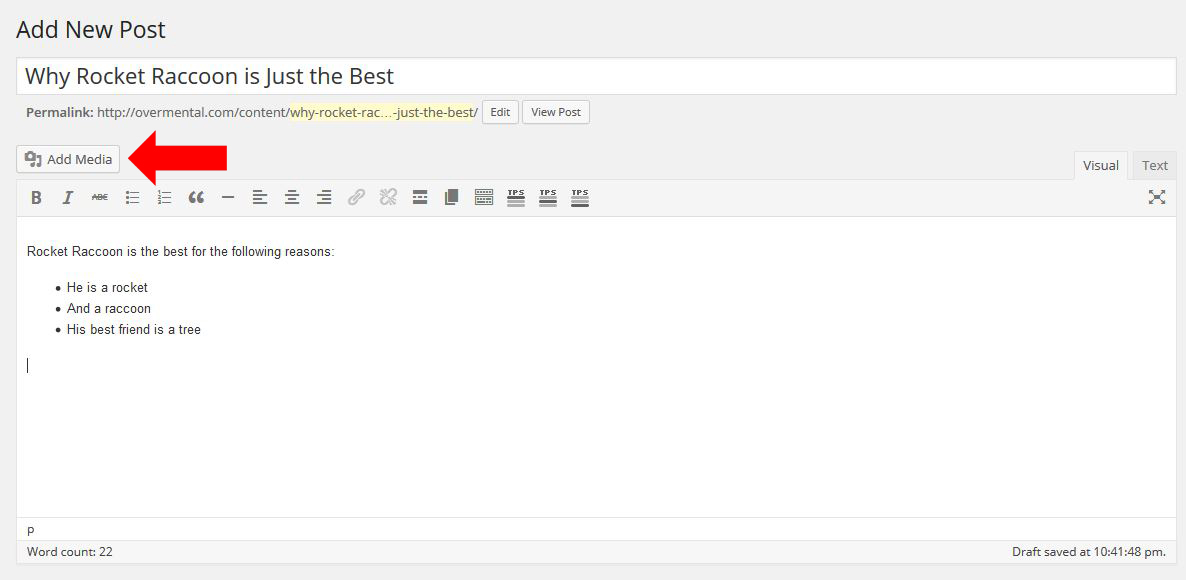
To add an image, click in the post body where you want it to appear, and then hit the “Add Media” button.
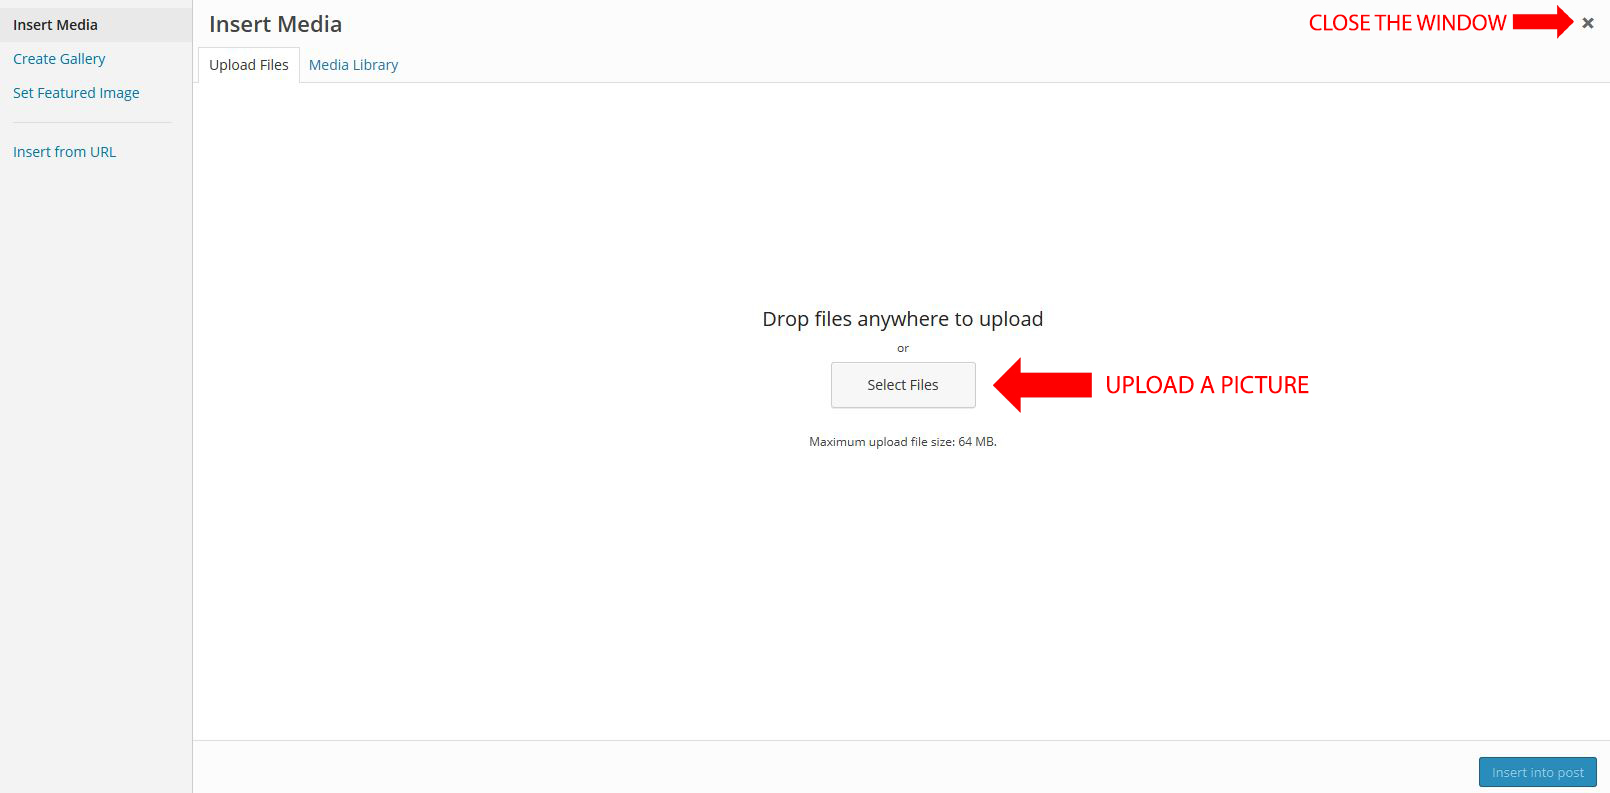
This will open up a window that looks like this. Choose “Select Files” to upload an image, or the X in the upper right-hand corner to close it.
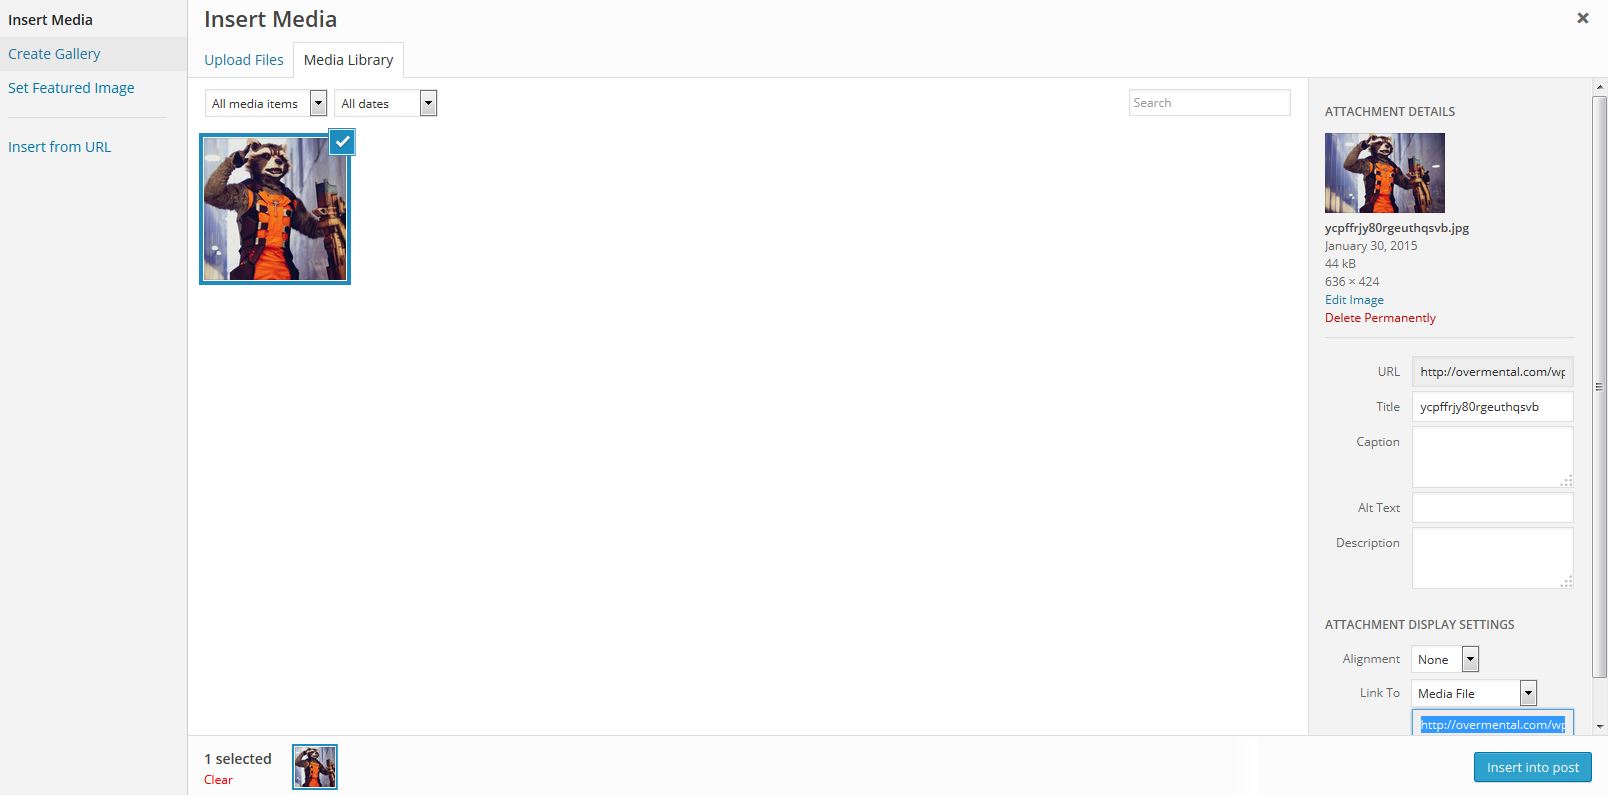
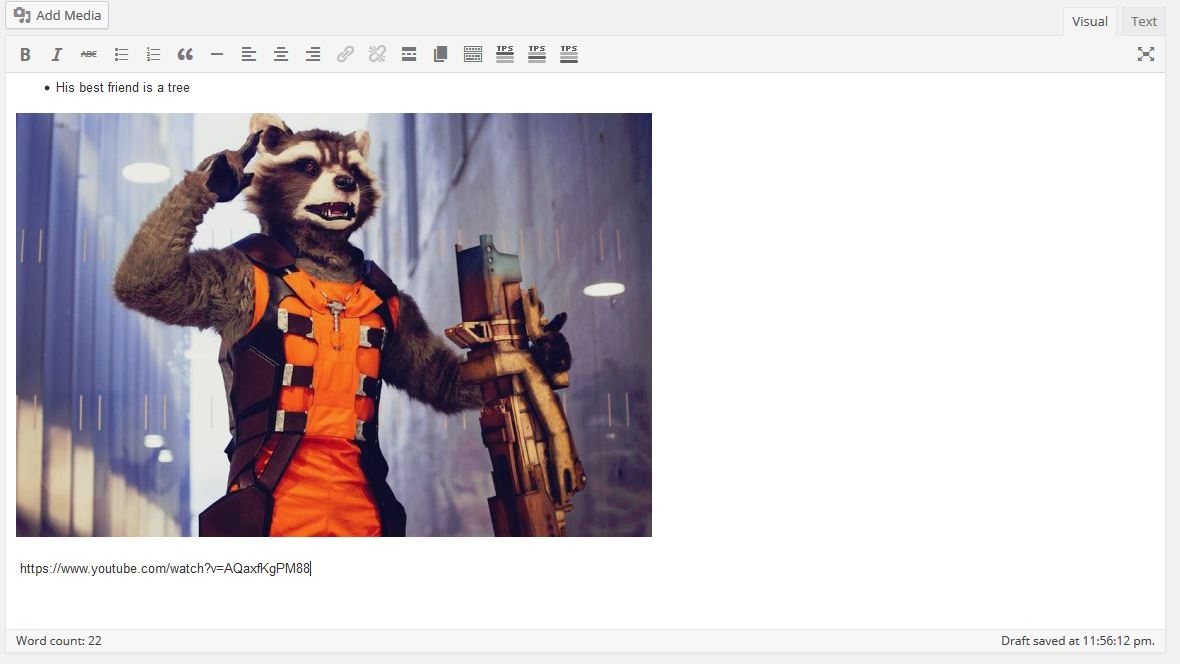
Select an image from your computer. It will now appear in your personalized “Media Library.” You may add a Title and Caption if you wish. A caption will be displayed underneath the image, while a title will make it easier for you to find the image again later.
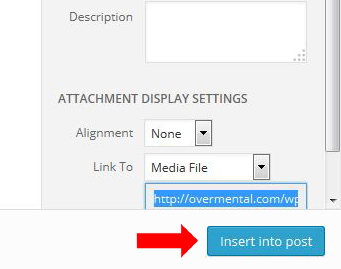
Click “Insert into post” when you are done.
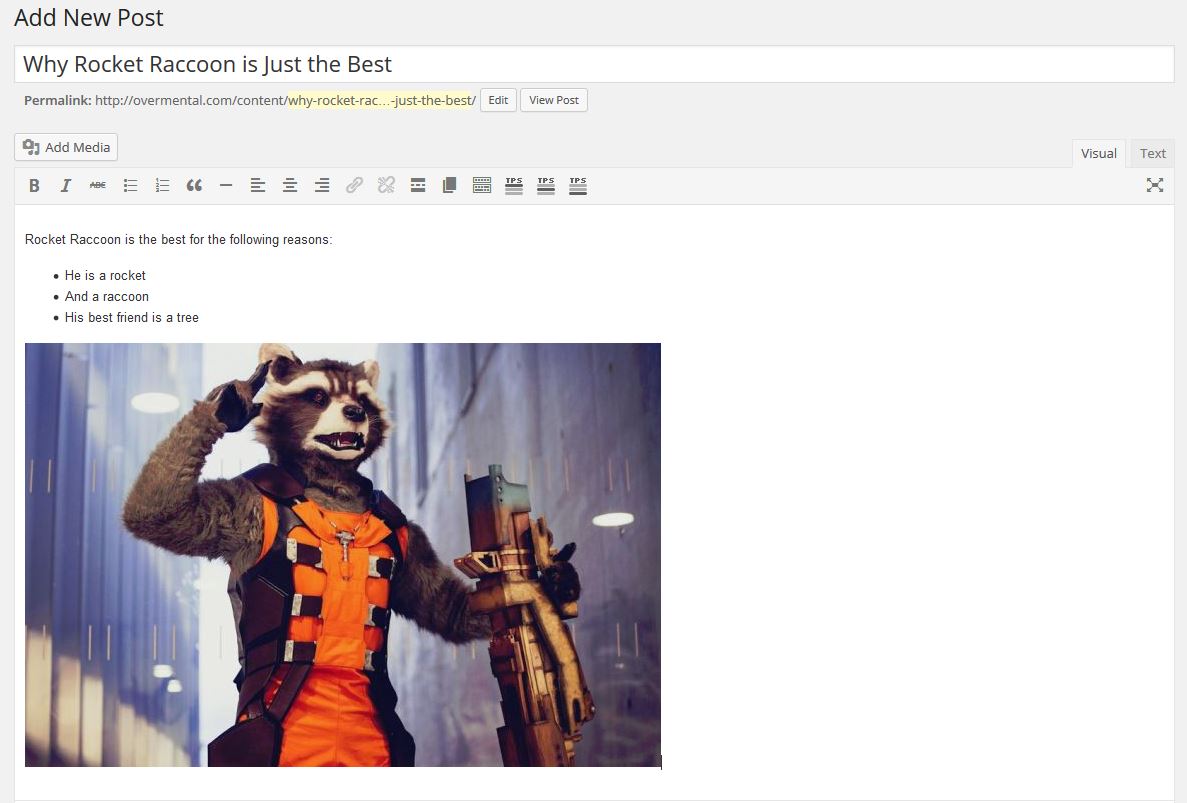
And voilà:
5. Adding a video to your article.
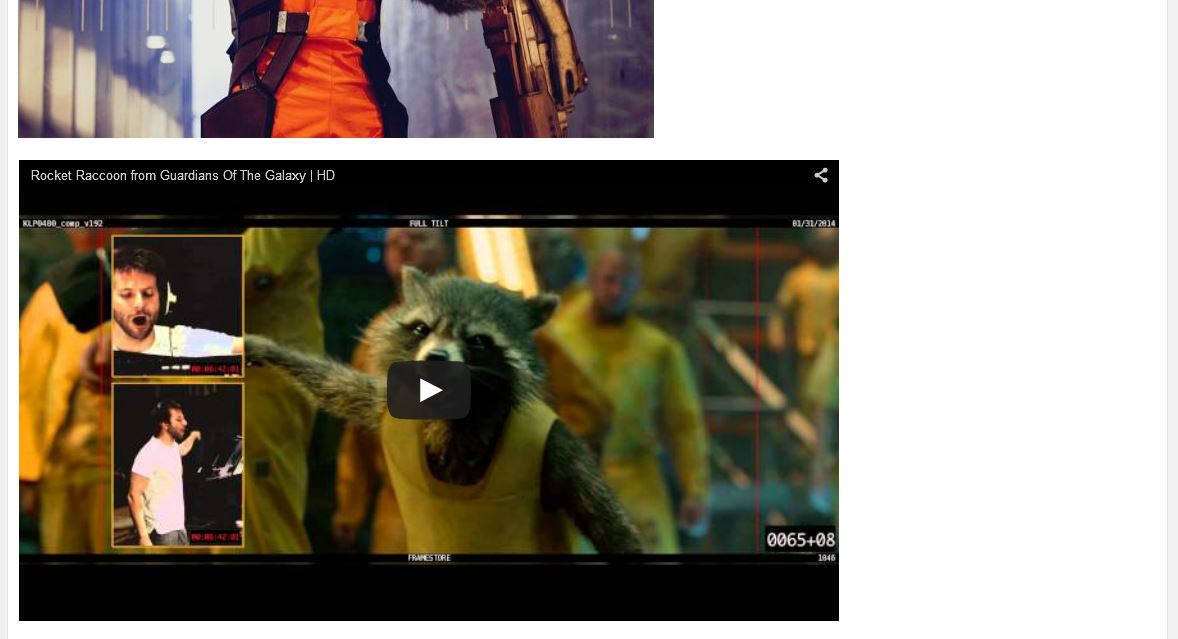
To add a YouTube video to your article, simply copy and paste the URL into the body of your post like so:
Copy…
![]()
And paste.
It will automatically convert into an embedded video (just like magic).
6. Turning your article into a review.
If you would like to post a review with a score, scroll down past the post body and open up the “Review Options” section if it is not already open.
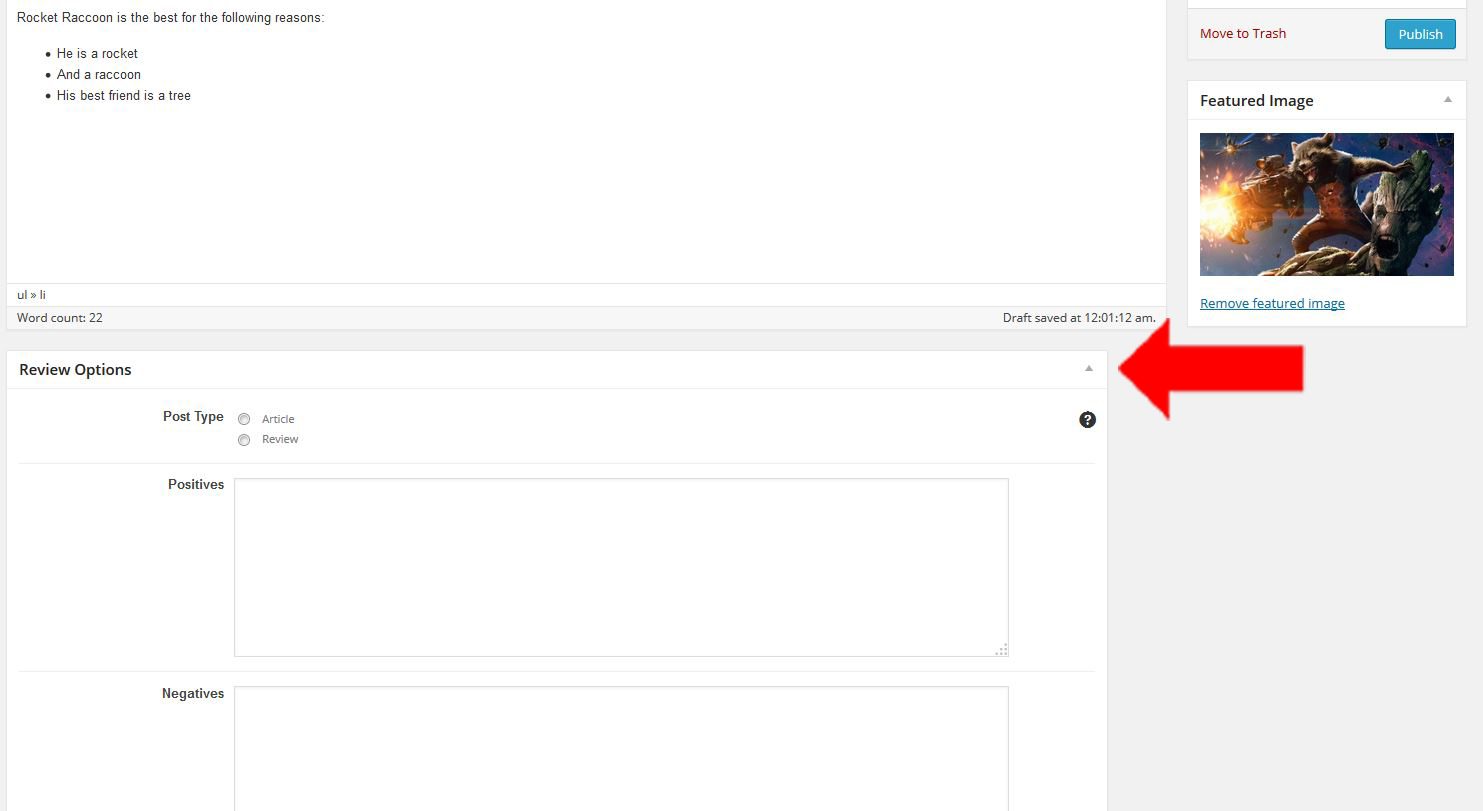
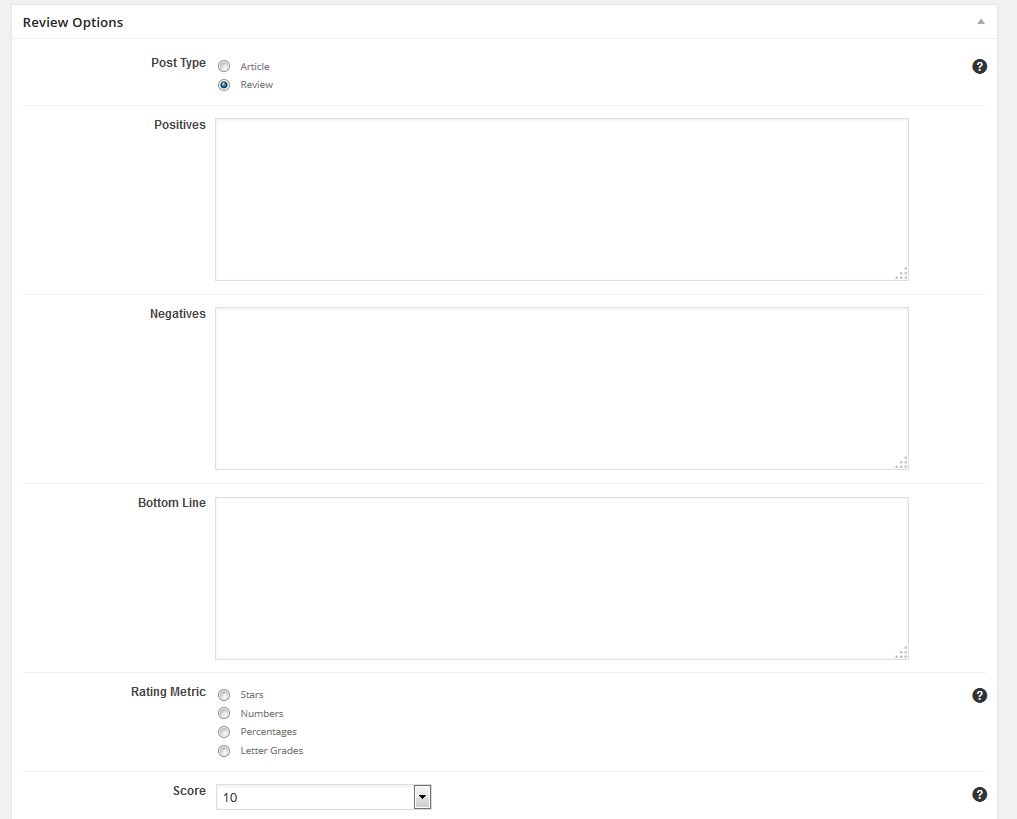
Under Post Type, select “Review.” You may add in text for the Positives, Negatives, and Bottom Line, but this is optional.
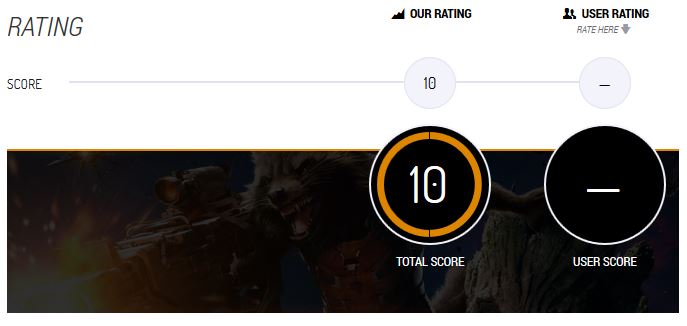
Then, under score, select a number grade. Ignore “Total Score Override.”
When you publish your post, a little score section like this will now appear:
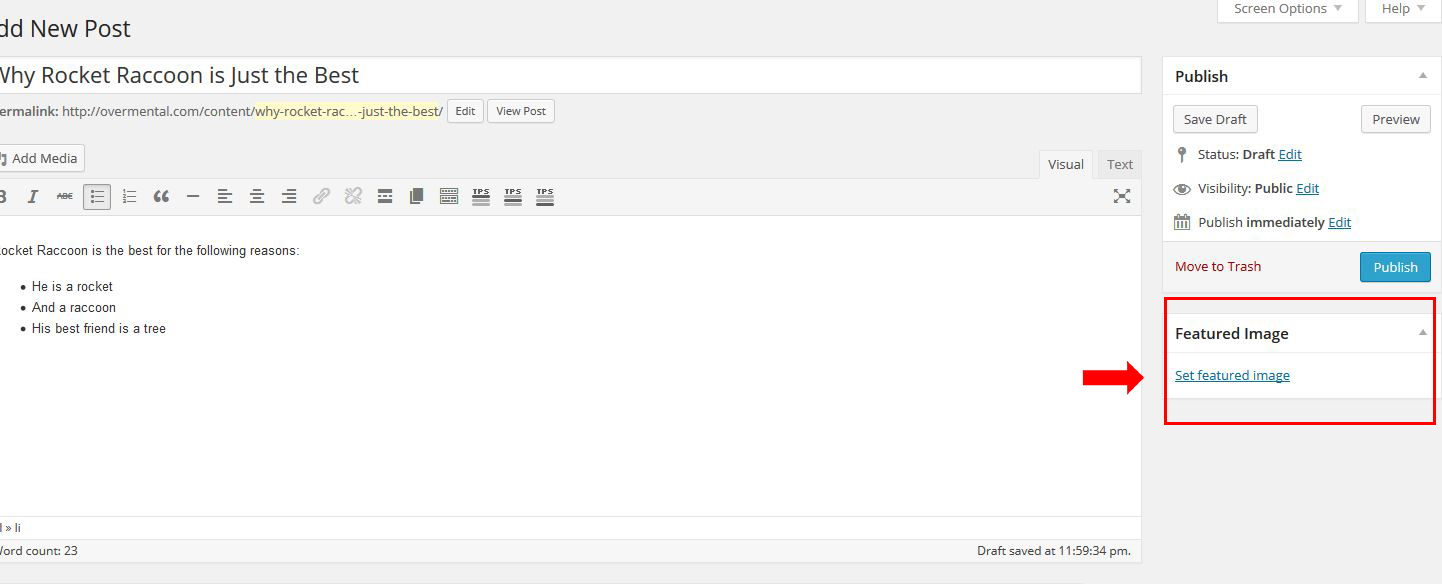
7. Adding a featured image.
Once your article is done, you’re going to want to add a Featured Image. This image will appear on the front page and any archive listings that contain your post, so make sure it’s pretty!
To add a Featured Image, click the “Set featured image” link here:
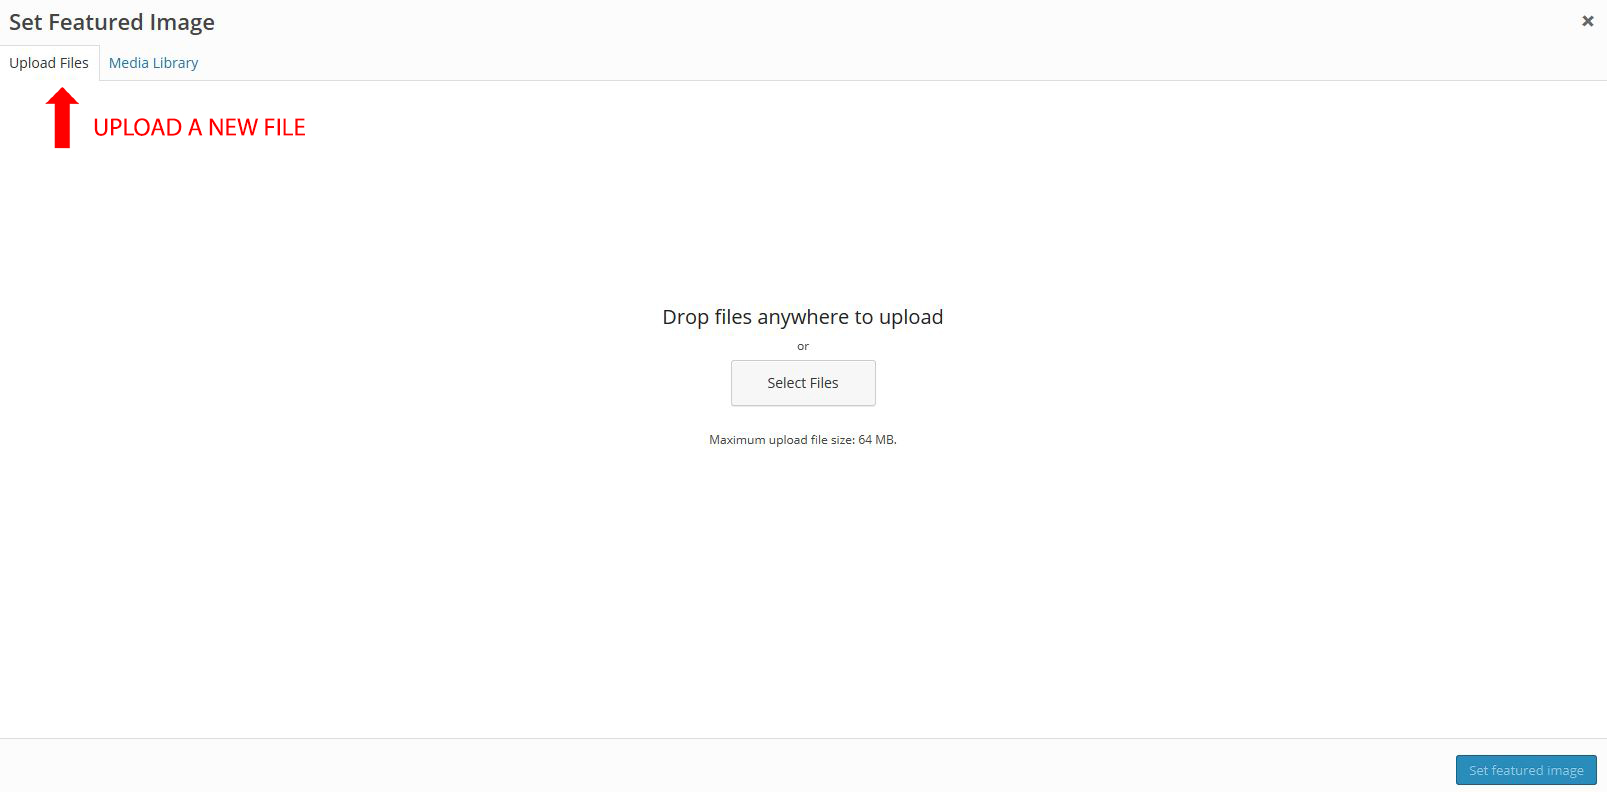
You will open a window that looks like this. If you have never uploaded an image before, it will take you straight to the uploader. If you have though, it will default to your personalized Media Library. To upload a new file, simply click the tab that says “Upload Files”
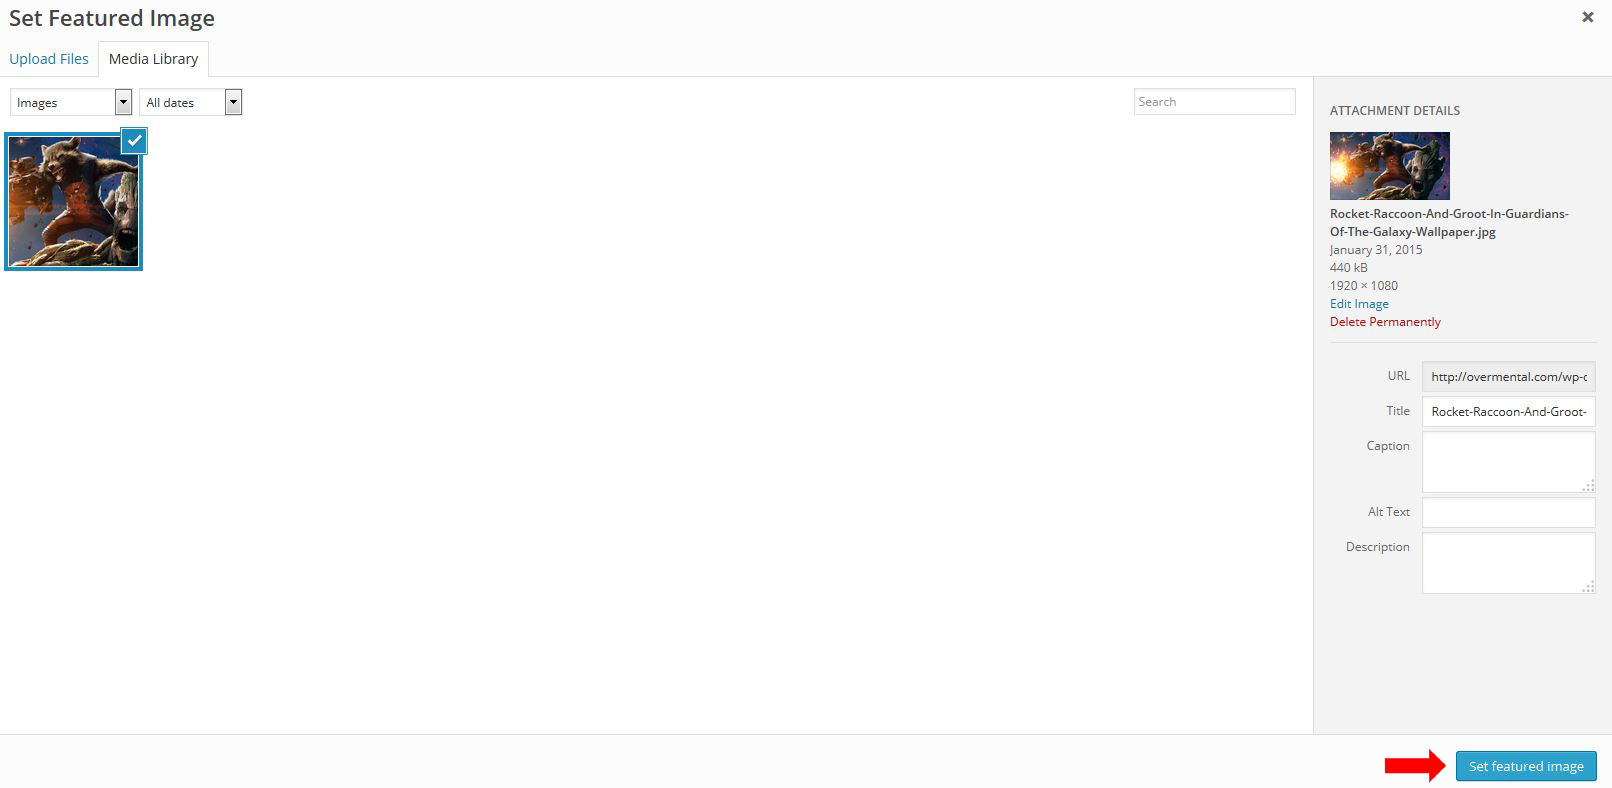
Then, simply select an image from your computer and click “Set Featured Image”
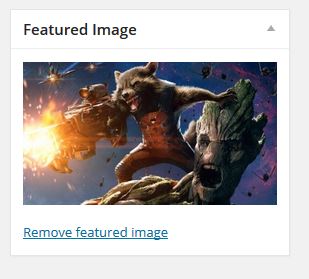
A little preview will now appear in your article. Click this preview to change the image if you change your mind.
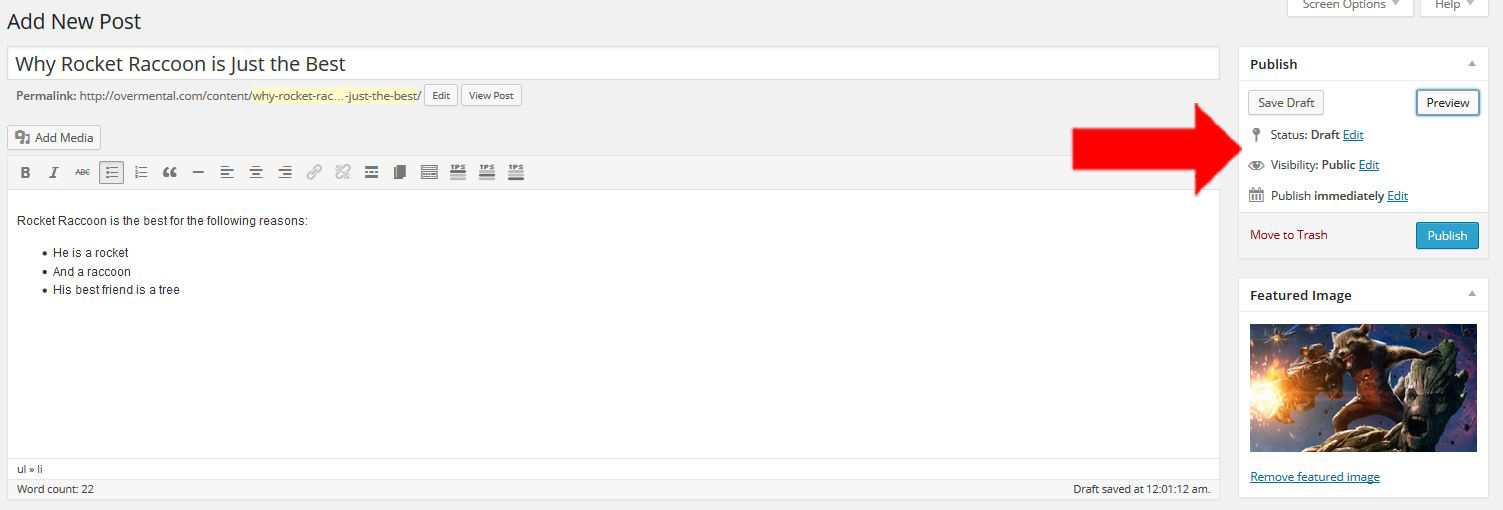
8. Saving drafts, previewing posts, and publishing.
All three of these options are located here:
Saving a draft will save everything you’ve created so far, but will keep the article private. Use this when you’re not ready to publish an article, but want to save it to finish later.
If you’d like to see what your article will look like when it’s published, click Preview. This will open up a window showing you what it will look like on the actual site.
Finally, once you are ready to post your article, hit the blue Publish button. You will be able to make edits after this if you see something you want to change, but the article will be available for readers to see on the site.
9. Reviewing your old posts and unpublished drafts.
If you would like to go back and review some of your older posts, or to continue working on your drafts, first go to your Dashboard by clicking this.
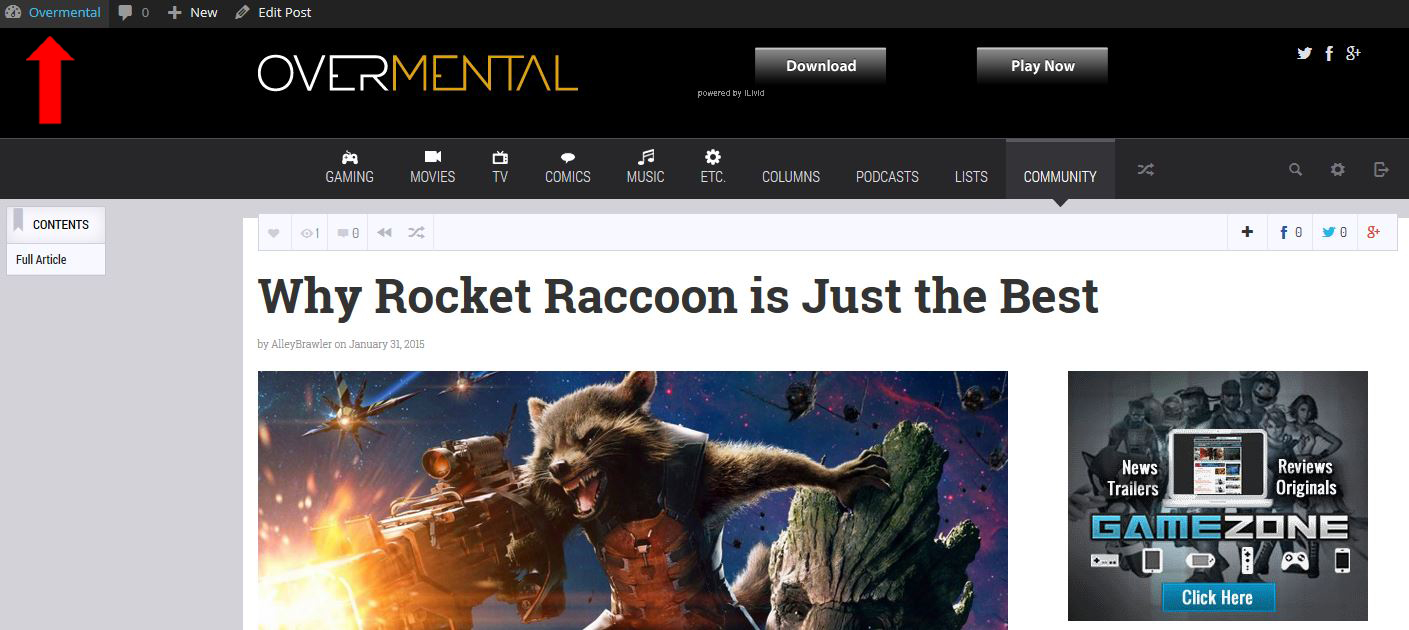
Once on your Dashboard, select Posts to view all of your previous work. To return to the main site at any time, hit the button in the top left-hand corner that looks like a house.